May 24, 2025 Meetup
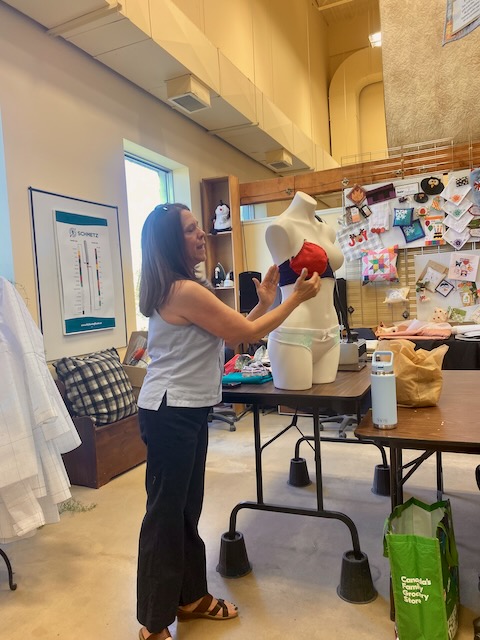
The fabulous Deb of SewYYC gave us some guidelines and tips for fitting a bra band. Deb is a bra fitting expert and offers bra making classes from time to time. Several Calgary Sews members have taken her classes and they have given glowing reviews.
SewYYC also provides pdf pattern printing. There’s a local pickup option for those of us in the Calgary area, and shipping is also offered across Canada.
Here are some tips that Deb shared:
- For bra inspiration, go to French lingerie websites (here are a couple: Maison Lejaby, and Chantelle)
- Start with a Fitting Band
- There are many companies that offer bra patterns. Look for something that is similar to a bra that you wear
- Purchase or acquire the pattern and review the size chart.
- How to measure: Place your measuring tape around your rib cage. Breathe in, breathe out, then measure
- Cup size will depend on your pattern
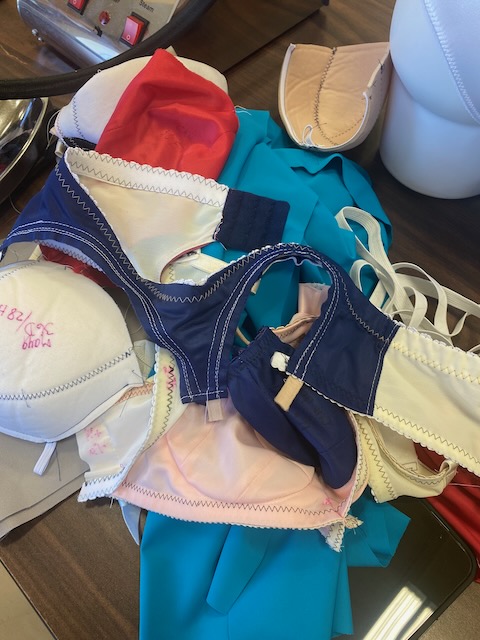
💥 HINT: Don’t throw out your old bras. Keep one or more around. You can use bits & pieces for fitting your me-made bra!
- Harvest hooks and eyes, and bra bands for your fitting process
- Also keep old straps as they can be used for fitting or for new bras
Bra Wires
- If you have a bra you love and don’t plan to wear again, unpick the bra, take out the wire and trace it on a piece of paper or cardboard.
- Alternatives: use a piece of copper wire and shape it to fit and be comfortable, or twist up a piece of aluminum foil and shape it to fit you
- Emerald Erin and Bra Maker’s Supply (both Canadian companies) have wire charts
- When you order bra wires, order a few sizes. You can slide these into an existing bra or your bra band to see how they feel. Wear them for a day
Prefer bras without underwires?
- Bras may be a bit more utilitarian, however you can make these bras prettier with pieces of lace or different fabric
- Typically this type of bra adds support through fabric type and placement
- Check out PinUp Girls and Lilypad Designs for inspiration
Making the Bra Band
- Select your starting size. Seam allowances should be 1″. If there isn’t a seam in between the cups, add one. You may need to make the cups in the cradle closer or further apart to fit you.
- Back band should have a solid stretch with very good recovery
- Cradle and cups need to be stable fabrics. Use anything you have around, including quilting cotton
- Elastic can really be any type but use the width recommended by the pattern so your band isn’t higher or lower than intended
- To make the channels for wires, use single fold bias tape. Put the wires in before you add the cups.
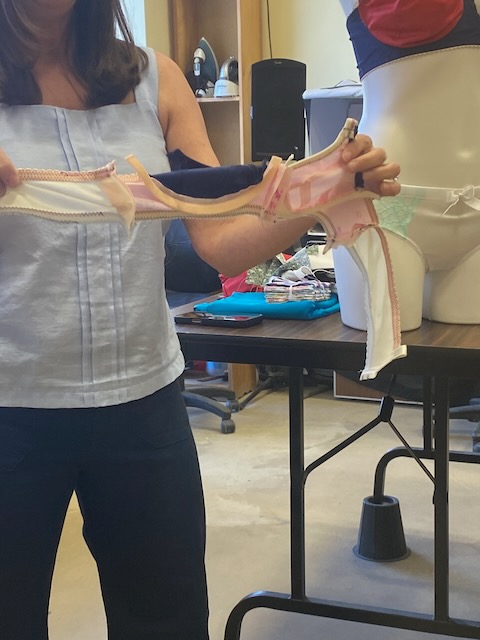
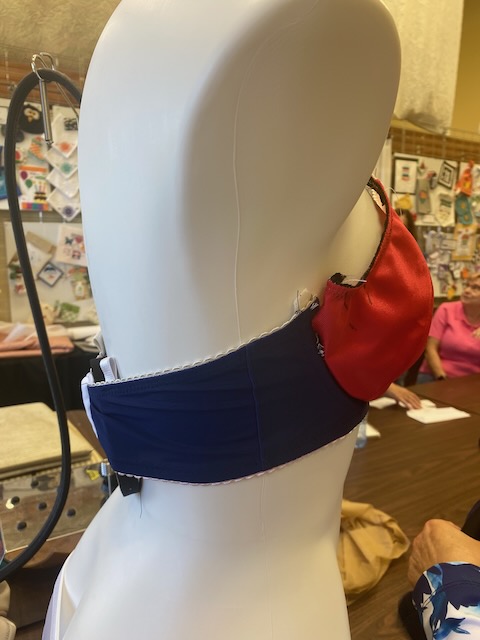
- Make your band. Baste the hooks & eyes onto the band. Sew the cradles to the band. Add elastic. Slide in the wires. Try it on.
- Take a look – are the side seams in the correct place?
- Once you have a bra band that fits well, use that band again and again for the same pattern or others
- Note that it is not at all uncommon to have different size cups
- Save your scraps and use them for practice bands OR for your final product. No one is going to see them and it’s a great way to be thrifty